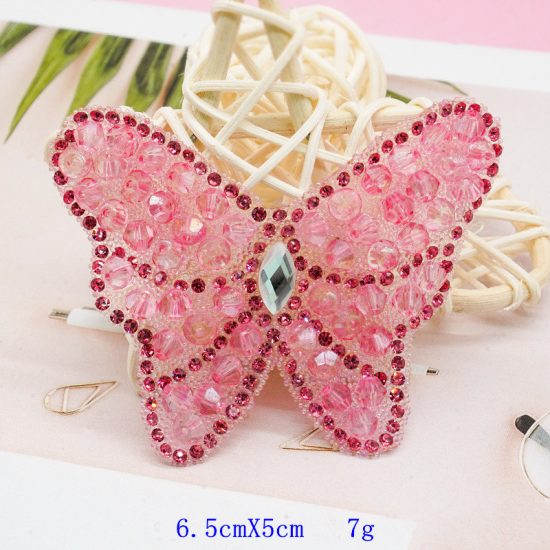
Customizing iron-on patches with unique text and fonts is a great way to add a personal touch to your clothing or accessories. Here are the steps to follow:
- Choose your iron-on patches: There are various types of iron-on patches available in the market. Choose the type that suits your fabric and the purpose.
- Select your text and font: Decide on the text you want to add to your patch and choose a font that matches your style. There are many free font websites available that offer a wide variety of fonts to choose from.
- Create your design: Using a graphic design software such as Adobe Illustrator or Canva, create your design by adding the text and font. Make sure the design is the correct size for the patch you have chosen.
- Print your design: Print the design on transfer paper. Transfer paper can be found at most craft stores.
- Iron your design onto the patch: Follow the instructions on the transfer paper to iron the design onto the patch. Make sure you use the correct temperature and apply pressure evenly.
- Iron your patch onto your fabric: Place the patch on the fabric where you want it and iron it on. Follow the instructions on the patch for the correct temperature and time.
- Enjoy your customized patch: Your unique iron-on patch is now ready to be worn or used on your clothing or accessories.
With these steps, you can easily create your own customized iron-on patches with unique text and fonts. Have fun and get creative!


